Abstract
CV boots will age and wear. If torn, debris will contaminate the cv joint and ruin it. If caught and fixed soon enough, the boot can be replaced and the entire axle will not have to be replaced.
I hold no responsibility for anything that breaks during or after a rebuild or any personal injuries as a result of following this guide.
Acknowledgments
I'd like to thank the members of celica.net, celicatech.com, and mr2oc.com for providing support for my cars, my father for tolerating the messes I've made in his garage, and baktasht of MR2OC for hosting this tutorial.
Tools needed
Various 1/2" drive sockets, jack, jack stands, wheel chocks, 1/2" drive breaker bar(s), various hand tools, torque wrench(es) that torques from 50-152 ft-lb, oil catch-pan, white-out or paint, 30mm deep socket.
Recommended optional tools
2/3 jaw puller*, axle-hub separator*, several pairs of latex gloves, cleaning agent ( ie: brake cleaner, Simple Green), fluid pump, PB Blaster, snap-ring pliers.
*Autozone rents this out.
Parts needed
Toyota CV boot kit - $24 (online price)
3 qts. transmission fluid - ~$6 per quart
Recommended parts needed (online prices)
Transmission oil seal - $7 per side
Time needed
It me about 8 hours from start to finish, but my excuse is that I took my time, spent time taking pictures, and got stuck doing parts runs since I wasn't prepared to change the transmission fluid. A normal rebuild would be around 2-3 hours, and an axle replacement should take about 1 1/2 hours. Set aside a day to do this.
Let's get started...
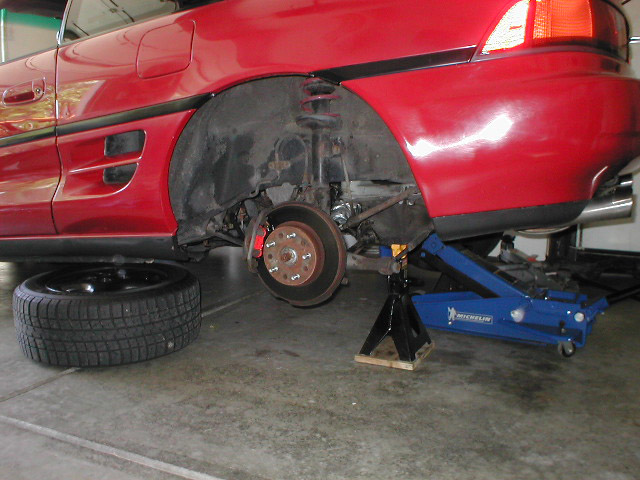
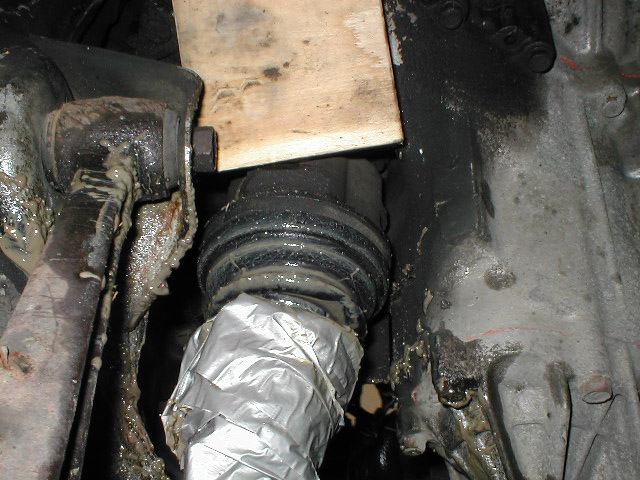
1. Chock the front wheels so the car won't roll away and jack up the rear of the car. You can use the pinch welds, but I prefer to use the rear crossmember. For the moment, I also left the jack in place for extra support. Spray parts down with PB Blaster to give it a little time to soak in.
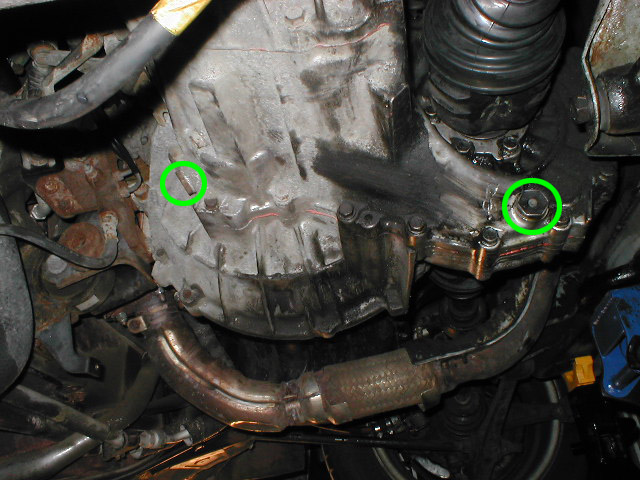
2. Drain the transmission fluid. You'll need a 24mm wrench or socket or an adjustable wrench. One of the fill holes is on the left, and the drain hole is on the right. Some people may say draining the fluid isn't necessary, but a quart of fluid leaked out when I removed the axle. "You can just plug the hole with a paper towel." The fluid still seeped through. Now might be a good time to change your fluid anyways. Temporarily install the bolts when you're done.
3. Remove the rear tie rod bolt and nut. The nut has a stopper, but I decided to use one breaker bar to hold the nut still while using another bar to break the bolt loose.

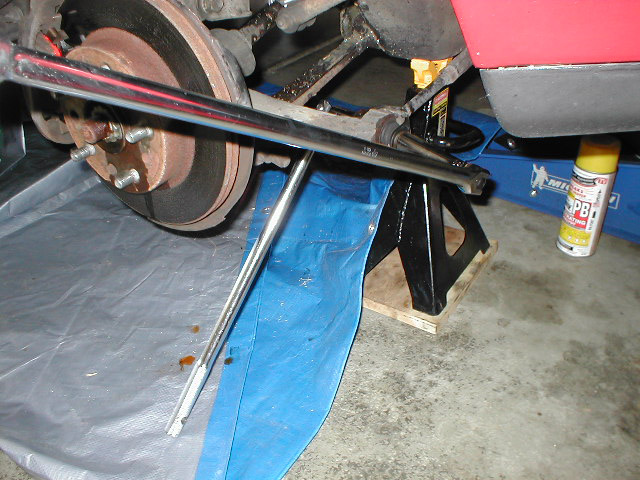
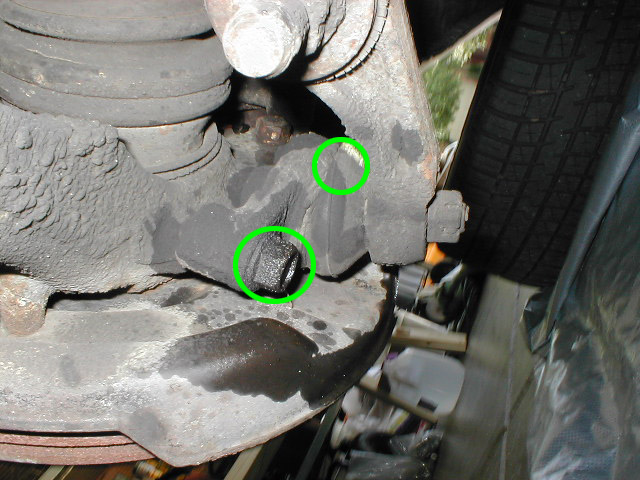
4. Get down and remove the two bolts connecting the ball joint to the knuckle. If the ball joint has trouble separating from the knucke later on, you might need to use a little force to get it off.
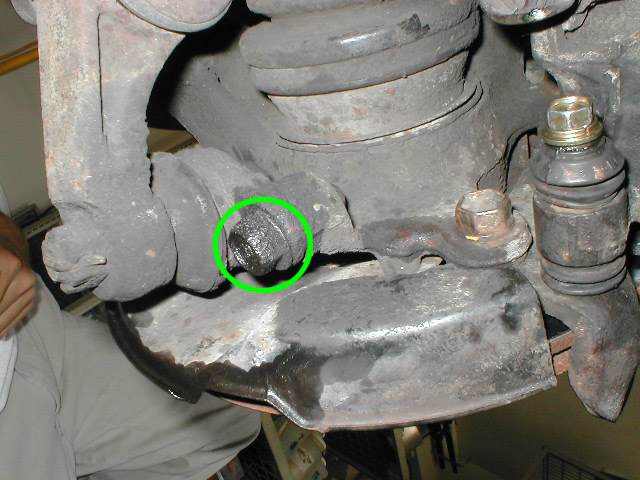
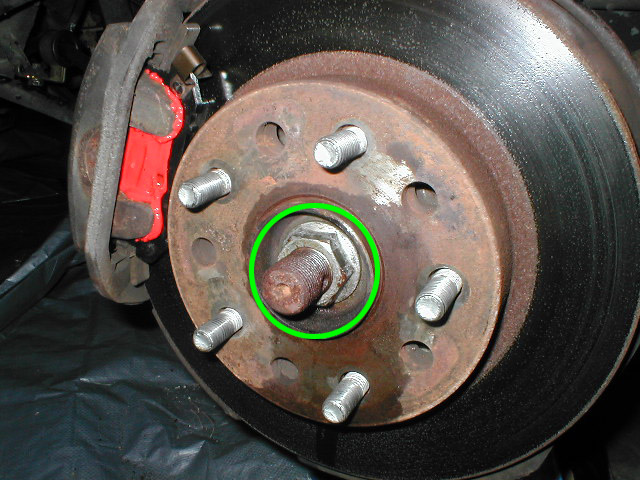
5. Remove the cotter pin and lock nut cap to expose the axle nut. I believe you'll need a 30mm deep socket or a special 30mm axle nut socket (they're the same thing). I had a 1 1/4" socket that I used. To break the nut loose, set your parking brake very firmly or have someone stand firmly on the brakes while you use a breaker bar and/or cheater bar.
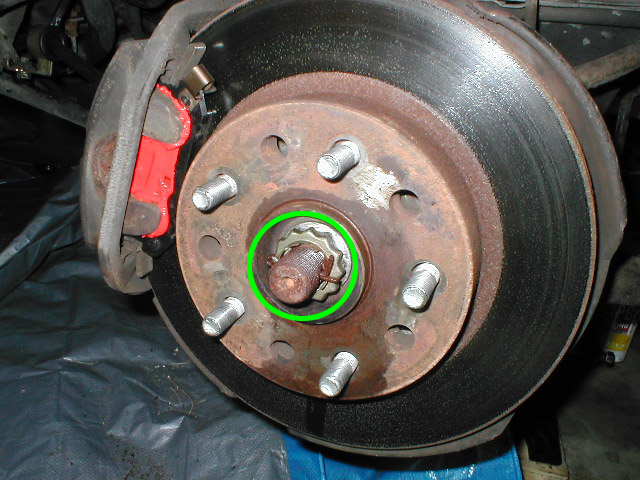
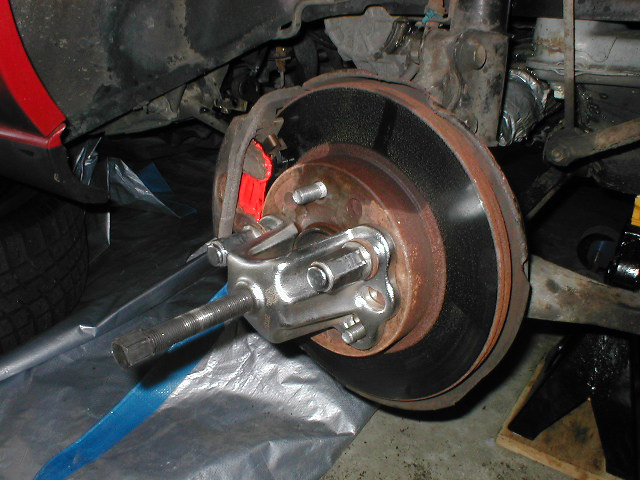
6. Next, use the axle-hub separator to well, separate the axle and hub.
7. If you're only removing the driver's side axle, you'll have to pound out the axle. I initially tried using a block of wood, but it was too soft and splintered on me. I moved up to using the blunt end of a ratchet. There are ridges on the cv joint tulip that you can grab on to; release the parking brake and rotate the axle so you can get better positiong if needed. Yes, I used duct tape and zip ties to keep the boot intact for a while.
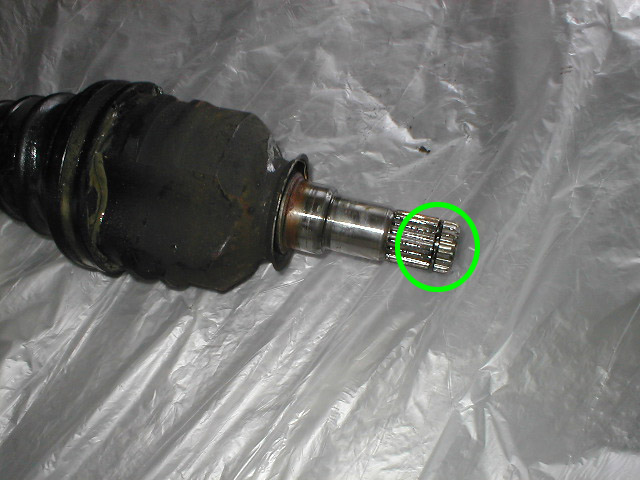
If you're rebuilding both axles, remove the passenger side axle first. It should slide out more easily since there's no snap-ring on the end. Use a brass bar, drill bit, or some sort of long rod to pound out the driver's side axle from the hole in the tranmission. The passenger side rebuild is nearly identical to the driver's side. Refer to the BGB for specifics.
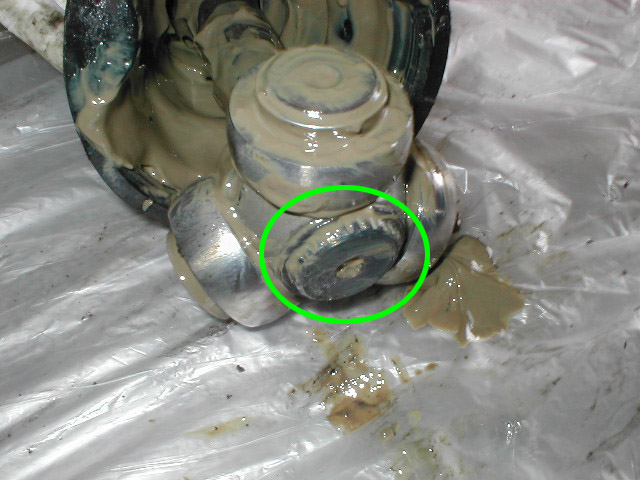
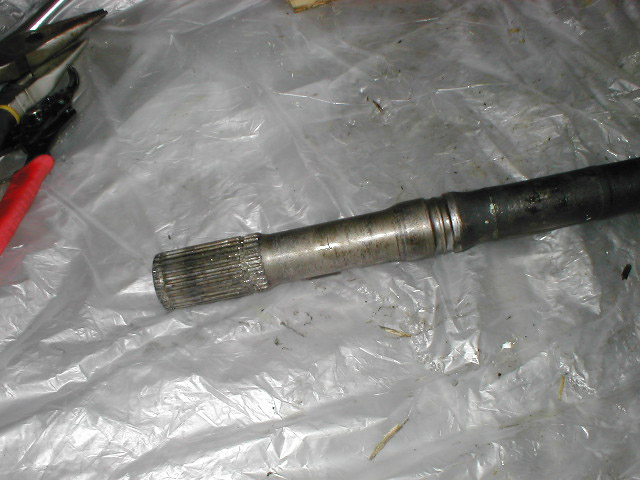
8. With the axle out, remove the snap-ring on the end of the inner axle.
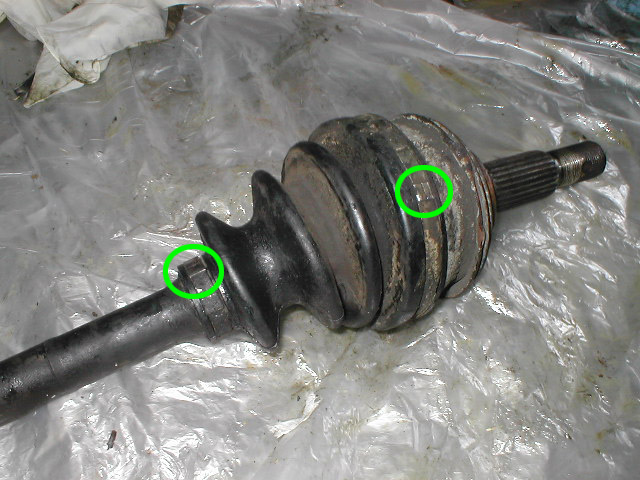
9. Remove the boot clamps on the cv boot.

10. Before removing the tulip from the tripod, place matchmarks on the two. I used white-out.
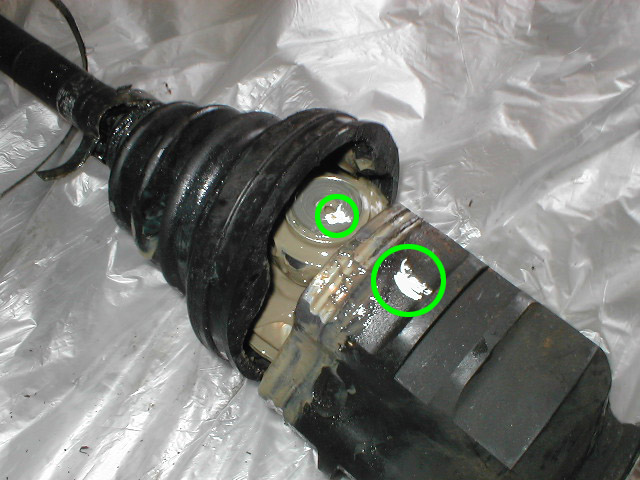
11. Remove the snap-ring on the inner side of the tripod and move aside the snap ring to the outer side of the tripod. You can cut off the cv boot if you want to. Paint another match mark on the tripod and axle.
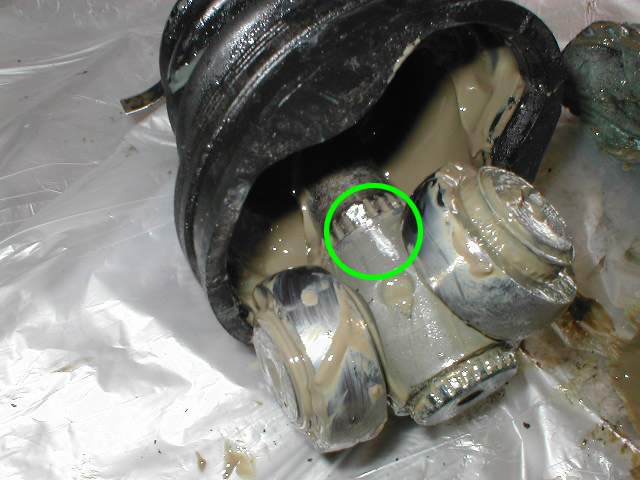
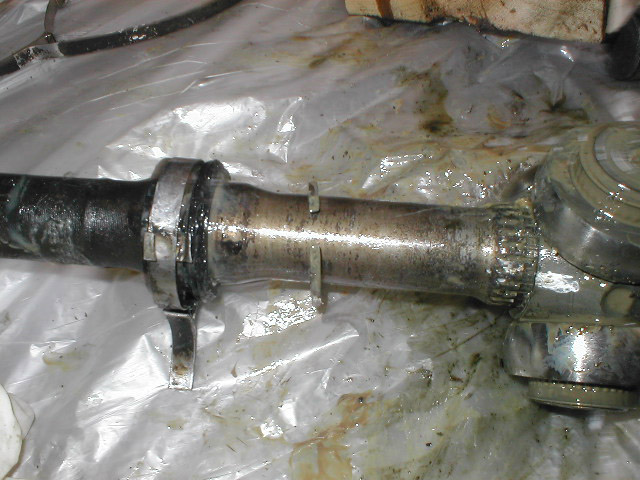
12. Remove the tripod by trying to pound it off, or use a 3 claw puller. I don't have a picture of how I had the puller set up, but it should be easily figured out. After the tripod is off, remove the snap-ring and small boot clamp.
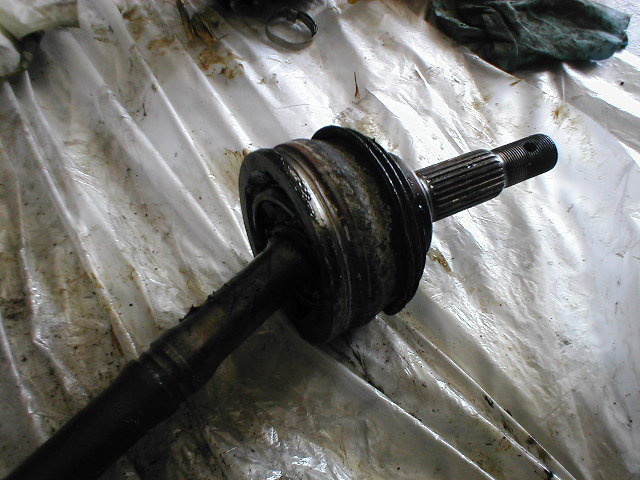
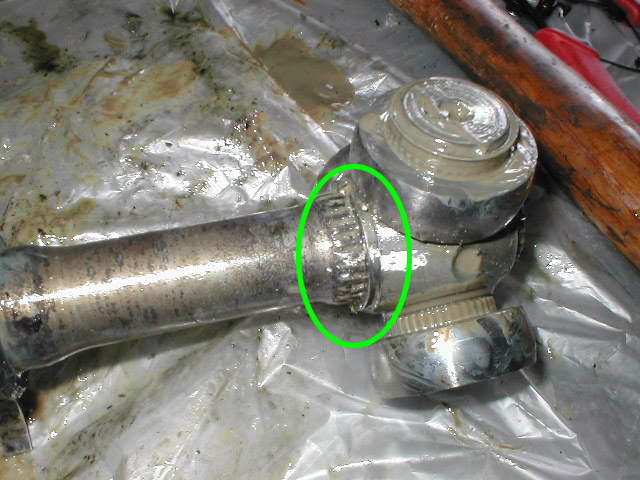
13. Move on to the outer cv joint and remove the two boot clamps. Slide the boot off the axle or just cut it off. Don't get curious and try to diassemble the outer cv joint.