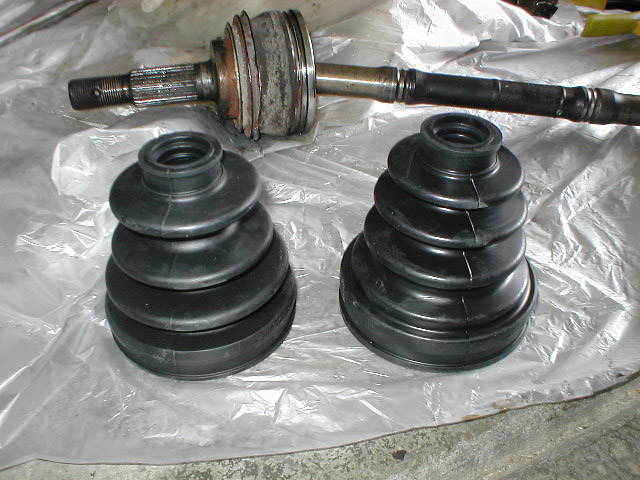
14. Temporarily put the new boots in place. You might want to wrap electrical tape around the splines on the inner axle since they can damage the new boots. The outer boot is on the left and the inner boot is on the right. Install the smaller boot clamps when done.
15. Install the outer snap-ring on the inner cv joint. Install the tripod followed by the outer snap-ring. I used a large socket to pound the tripod into place. Remember to align the matchmarks. Clean any parts that need cleaning before you install them.

16. Go back to the outer cv joint and fill it with the black grease. Make sure the boot is free from major contaminants. The Toyota boot kit will come with the proper amount of needed grease. Use all of it. Place the boot into position, work the grease around by rotating the joint around, and then stick a screwdriver under the boot to equalize the pressure inside and outside the boot. Repeat a couple times. Install the remaining boot clamp. Use the shorter of the two large clamps on the outer boot.

17. Pack the yellow grease into the inner cv joint and cv tulip. Use all the grease that came with the Toyota kit. Slide the tulip over the tripod, making sure the boot and tulip is free from contaminants. This includes the white-out matchmarks on the tripod and axle shaft. Work the grease around and equalize the pressure again. Install the last boot clamp.
18. Install the snap-ring on the inner axle. It might be possible to not install this so future axle removal would be easier, but I'm not sure if that's wise.
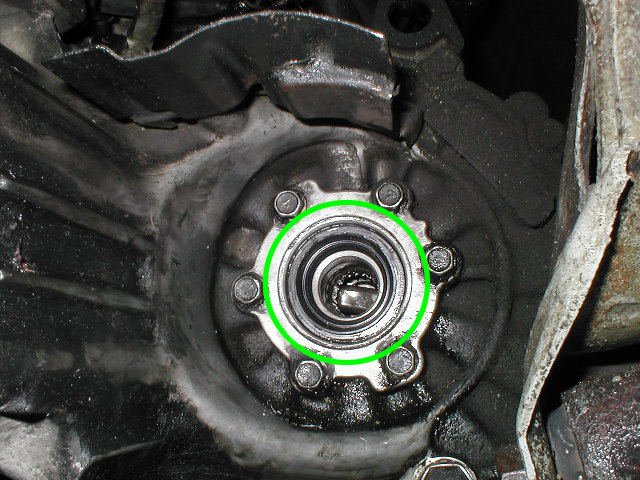
19. I highly suggest replacing the transmission seal while you have your axle out. There's no reason not to, and the old seal might break on you when you remove the axle (like with me). Pry out the old seal and install the new one. Coat the outer ring of the oil seal with transmission fluid before installing it. Using a pvc pipe and the old oil seal made the install fairly easy.
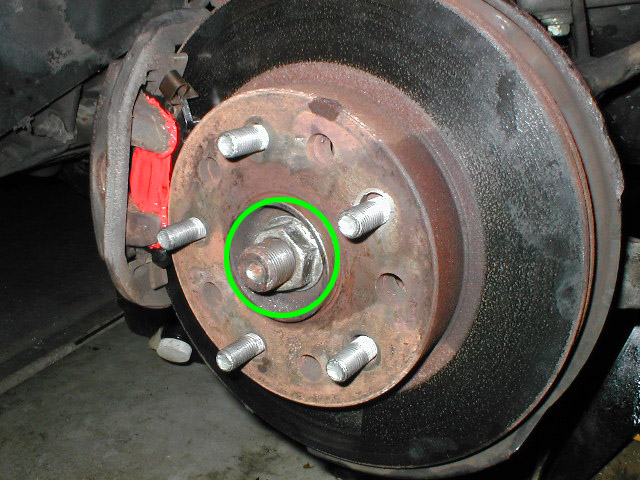
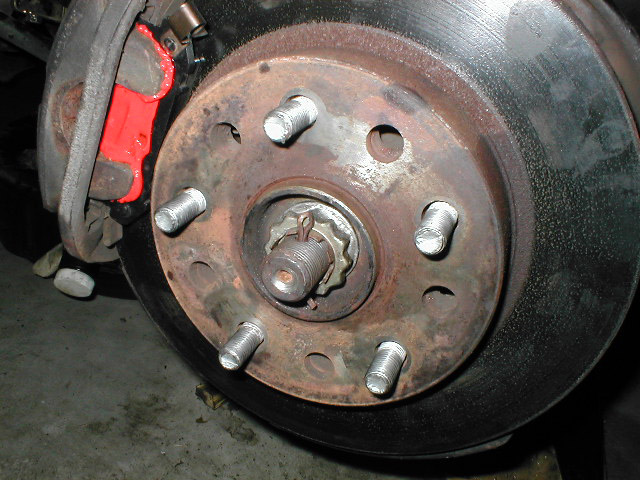
20. Insert the axle into the axle hub first. Thread the axle nut and tighten it so you can pull the axle into position. You don't need to torque down the nut yet.
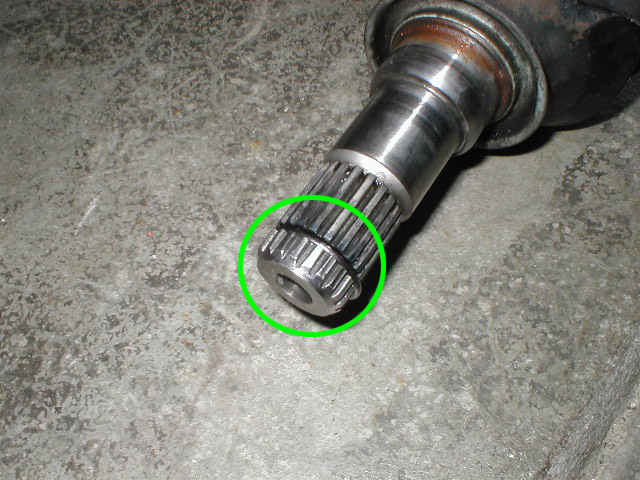
21. Install the other end of the axle into the transmission. You will probably have to pound it into place. Use the same method you did to pound it out.
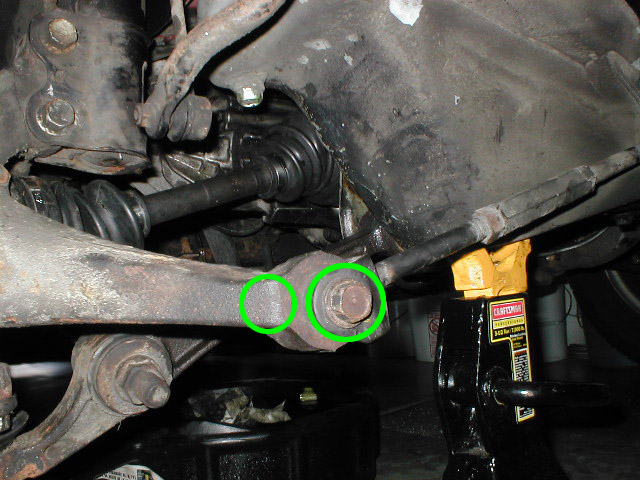
22. Get the ball joint back into position (it might be difficult) and temporarily install the tie rod bolt (right). Install the ball joint bolts and torque them to 83 ft-lb. You may need a second person to push down or stand on the suspension arm so you can get the ball joint back under the knuckle.
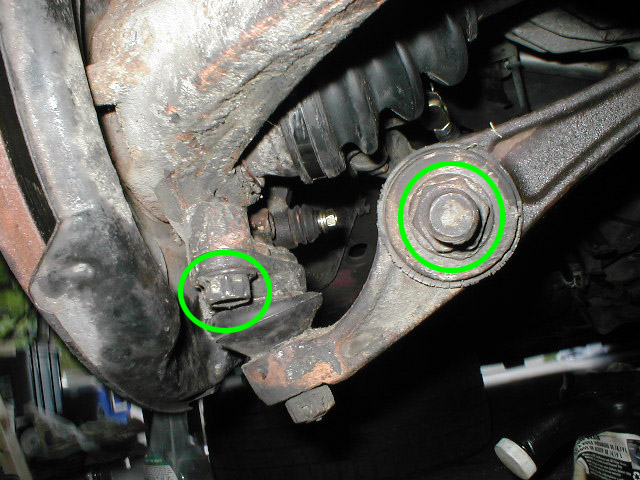
23. Torque down the tie rod bolt and nut to 76 ft-lb.
24. Torque down the axle nut to 152 ft-lb. Use the parking brake again or have someone step on the brakes.
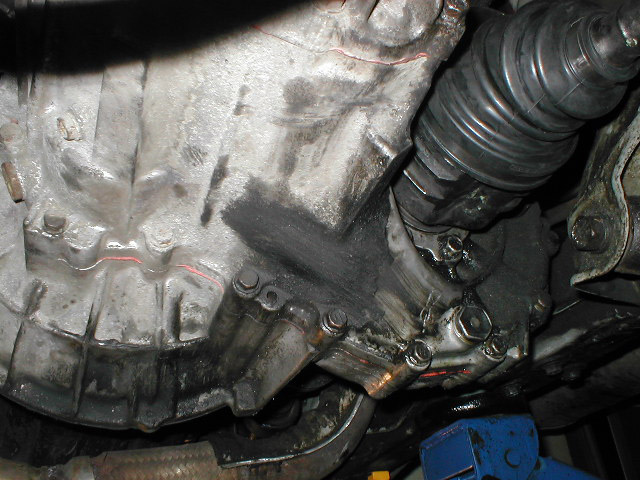
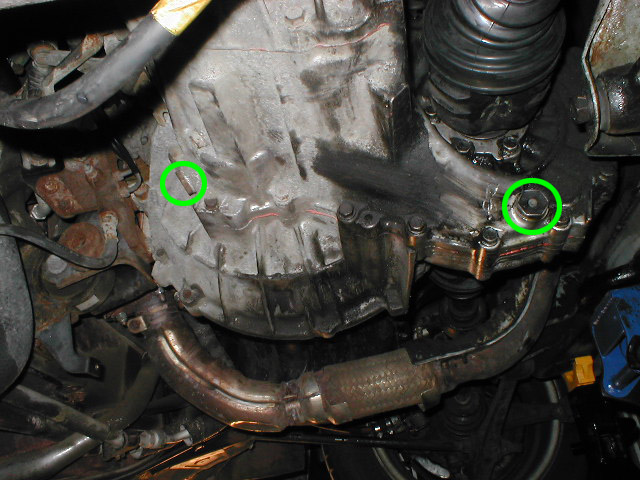
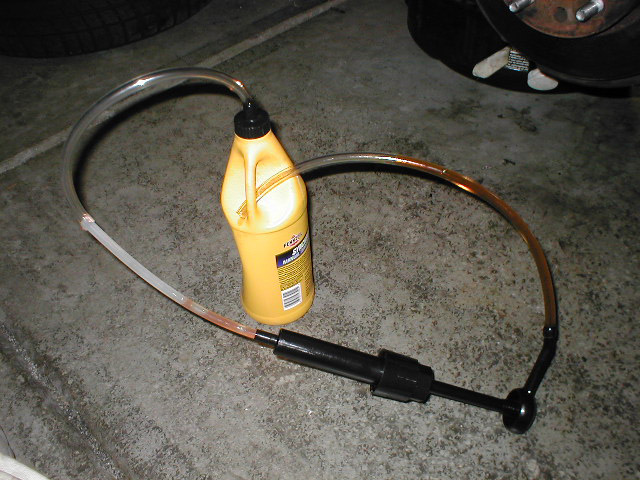
25. Prepare to fill your transmission with fluid. Tighten the drain bolt (right). I don't think there's a torque specification, but I decided to use a moderate 25 ft-lb. Remove the fill bolt (left) and pump your fluid of choice in. You'll need a little less than 3 quarts. The transmission is full when fluid leaks out from the fill hole. Tighten the fill hole bolt when done. Again I tightened it to 25 ft-lb.
Put the wheel back on and take a test drive. Congratulate yourself since you just saved a bunch of money on car insurance by switching to Geico. A Toyota dealership quoted me $300 per side to rebuild the axles, and the lowest independent shop price was $183 a side to replace the entire axle with a remanufactured one.
Written by Allen Yan, 7/11/2005. Itthecow@comcast.net