
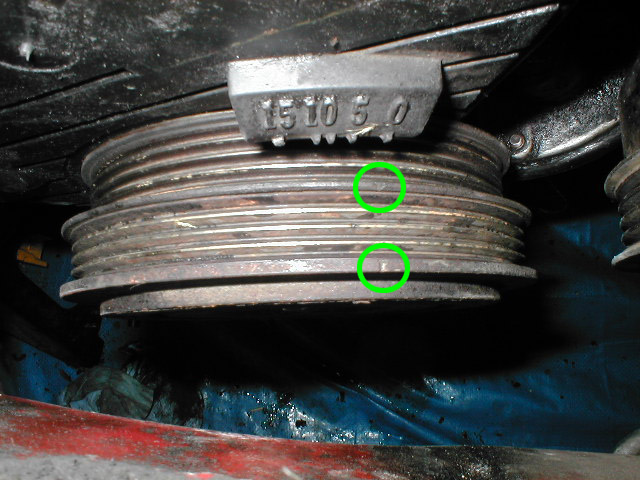
39. Slide the crank pulley into place. You may have to pound it into place using a hammer and a block of wood. Torque the crank bolt down to a hefty 80 ft-lb. Putting the car in fifth and setting the parking brake made it pretty easy for me. Try not to let the pulley turn too much.
40. Set the crank to TDC again. If you did everything verbatim so far, the mark should be close to TDC already. Take the shortest route to TDC. By that I mean turn the pulley clockwise if you're to the left of TDC, and turn the pulley counter-clockwise if you're to the right of TDC.
41. Next, align the cams properly. Again, if you did everything verbatim, the hole in the cam pulley should be pointing upwards. Use both hands and turn the pulley a bit so you can see the v-shaped mark that you want the hole to align with. A flashlight and mirror will make things much easier. There's also an o-shaped indentation back there somewhere. Don't confuse the v and o; you're looking for the v. Like the crank pulley, when aligning take the shortest route to TDC. Turn the pulley clockwise if you're to the left of TDC, and turn the pulley counter-clockwise if you're to the right of TDC. I want to stress this because on my old car I accidently had the cam and crank 180° off. The car didn't get any compression, and I had to remove most everything again to fix my mistake.


If for some reason you think you're 180° off, uhhh... I'll update this if I figure out how to check. If your car doesn't get compression when you try to start it,12:05 AM 7/12/2005 you'll probably know for sure your timing is 180° off.
42. If you aligned the crank and cam perfectly, the belt should have firm tension between the cam and waterpump pulley. When you're positive the belt is run properly, loosen the bolt on the #1 idler pulley. Don't tighten the bolt yet.

43. Get under the car and turn the crank from TDC to TDC two times. That's a total of 4 complete turns. Turn the pulley clockwise only and avoid ever letting the pulley turn counter-clockwise or you'll pretty much automatically ruin the cam-crank alignment. If you go past TDC on your last turn, you'll have to turn the pulley another two times. Use a breaker bar since it will give you more precise control. I turned the crank several times so I could clean the belt from the powder from my gloves.

When done, check to make sure the cam pulley is still properly aligned. If it isn't, push the #1 idler pulley back down, tighten it in its lowered position, realign the cam and crank, rerun the timing belt, and turn the crank from TDC to TDC two times again. Make sure the belt is installed correctly when everything is already off so you don't have to fix it later. I got stuck doing this four times. When done, tighten the idler pulley bolt to 31 ft-lb.
44. Install the upper timing cover with its 4 bolts.

45. Install a/c idler pulley. The first picture shows which bolt goes where. Torque the top bolt to 27 ft-lb, the right bolt to 18 ft-lb, and the lower bolt to 20 ft-lb.


46. Jack up the engine up and install the engine mount bracket. Torque down the 4 bolts to 38 ft-lb. You'll have to lower the engine to install the bottom bolt. With the engine down, put the engine mount in place and install the through bolt. Torque it to 58 ft-lb. Raise the engine so there's mild pressure on the mount and install the two nuts on the engine mount. Torque those to 38 ft-lb.

47. Install the alternator belt and tighten it as necessary. Remember to tighten the 12mm and 14mm adjusting bolts. Install the a/c belt as well and adjust the tension as needed. Now would be a good time to change the drive belts if you haven't recently.

48. Finish reinstalling the c/c system, and anything else that you may have removed (ignitor wire, spark plugs, oil filter, exhaust manifold, etc). If you plan on using a timing gun to check the ignition timing, don't install the engine hood side panel yet.
49. Day 2 for me. I lost the two bolts for the t-stat housing and had to wait to replace them. Using the airblower-to-pressurize-the-cooling-system method, I got another half gallon of coolant out.

Prep your coolant of choice. 50/50 coolant and distilled water.

50. Open the bleeding lines on the service plugs if you closed them. Start filling from the fill neck in the engine bay. You'll know you're close to done when coolant appears in the service hoses. You're done for the moment when coolant overflows from the fill neck.

Tighten the radiator cap to the first click. Get in your cabin, hope for the best, and start the car. All right! It started on the first try! Check your engine bay for leaks, weird noises, or fires.


Let the car run for a few minutes, and turn it off. Refill the coolant system. Repeat this several times until the coolant level no longer drops. When done, tighten the radiator cap and fill up the overflow tank.
51. To check the ignition timing, you'll preferably need a timing gun. You can try timing the car by ear, though. With the car off, find the Diagnosis port and bridge the TE1 and E1 terminals with a paperclip or strand of wire.


To power your timing gun, you can use a spare 12v battery, or a power terminal you can find in your driver's side fuse box. Ground the negative wire somewhere.

Loosen the distributor adjusting bolt. Start the car; I'll assume you know how to use a timing gun from this point. Stock timing is 10° BTDC. If you want to advance your timing for slightly better low-end torque, I suggest 16° BTDC with 89 or higher octane gas. When done, reinstall the engine side cover.

Congratulations! An install for everything I've done at a Toyota dealership would cost around $850 (6 hours labor + parts). If you have any questions, I urge you to visit celicatech.com or mr2oc.com.
Written by Allen Yan, 7/11/2005. Itthecow@comcast.net