26. To install the o-ring, someone on MR2OC suggested using petroleum jelly to hold the ring in place while putting the cover back on. Thanks for the tip, whoever suggested this. Before doing so, coat the o-ring with a bit of oil.
27. Reinstall the bolts on the cover. Remember the red bolts aren't the same as the green bolts. Torque the red bolts to 78 in-lb (~6.5 ft-lb) and the green bolts to 82 in-lb (~7ft-lb). Take care to make sure the o-ring hasn't moved. Mine did and leaked a lot of oil, and I realized my mistake after I had reinstalled everything. I had to spend another three hours redoing everything.

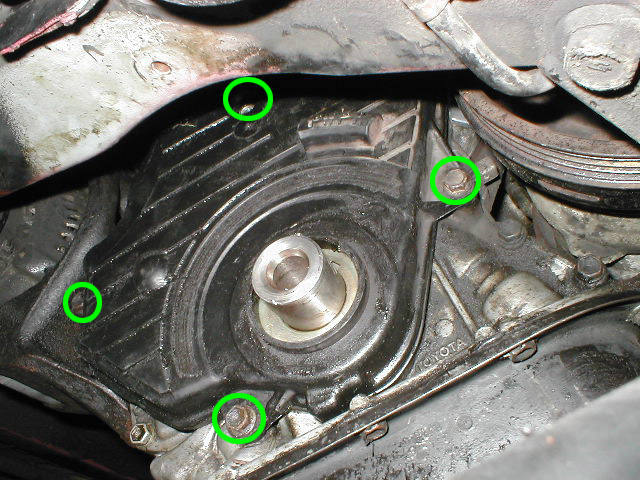
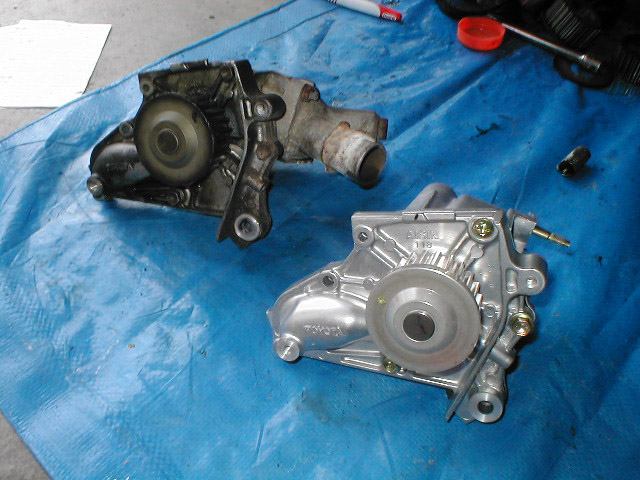
28. Pull the old water pump housing out. You might need to use a prybar. The old housing is on the left. Yuck. The new housing is on the right. Yuck. If you haven't already, remove the thermostat housing from the old housing. Don't install it onto the new housing yet.
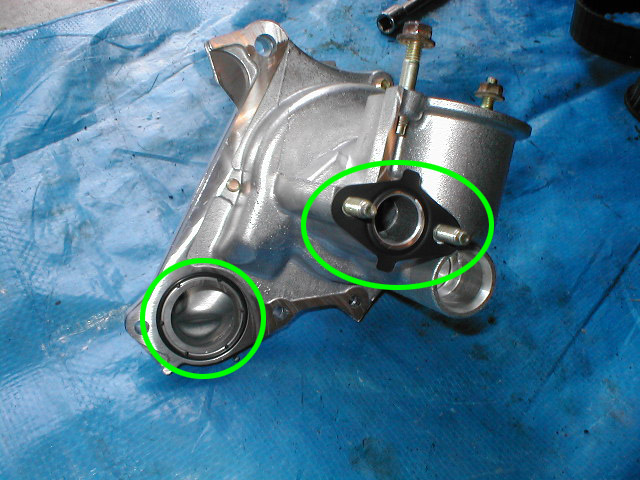
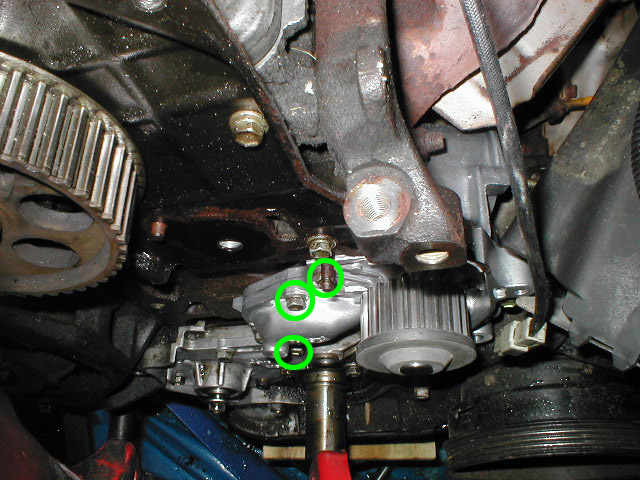
29. Install the new seals and gaskets on the new pump. There's two on the housing and an o-ring on the water by-pass pipe. Be sure to slide the old o-ring off. Clean the mating surface on the pipe for the other gasket as well.
30. Slide the new housing in place. Lube the pipe with soapy water if you can't get the pipe to insert easily into the housing. Reinstall the nuts on the by-pass pipe first. Torque them to 82 in-lb (~7ft-lb) if you can. I couldn't get a torque wrench back there, so I just tightened it firmly by hand. Take care not to drop the bolts. I did and never found them again. Fourtunately, the t-stat housing uses the same bolts.
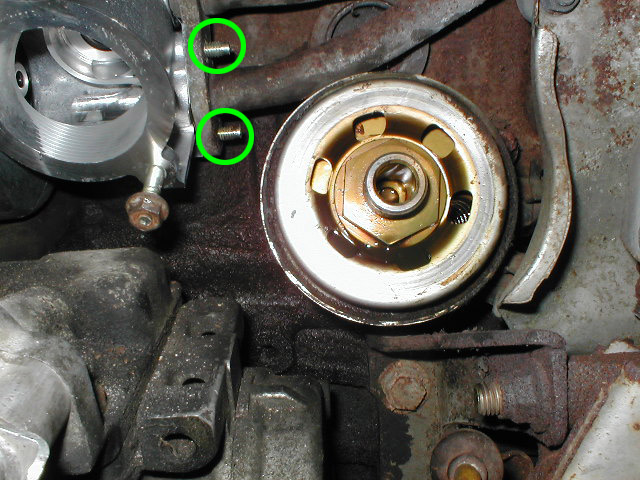
Reinstall the face bolts oppsite the order of removal. The order is top, bottom, middle. Torque to 82 in-lb (~7ft-lb).
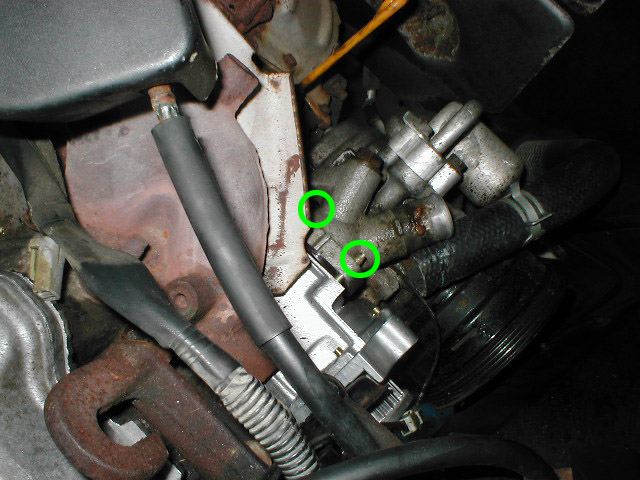
Now, install the thermostat and thermostat housing. Be sure to use the new thermostat seal. Torque to 82 in-lb (~7ft-lb), and reinstall the manifold cover and oil filter if you removed it.
31. Clean up the gunk everywhere if you haven't already. Remove the old cam seal. I used a special seal puller, but it still didn't make the job a lot easier. Try your best to get the seal out. Some may criticize me, but I found it best to scratch away the rubber with something sharp to first expose the metal. Deform the metal with a pointed object and you'll have something to grab on to. You can probably skip scratching away the rubber.
When done, install the new seal. Coat the outer ring of the seal with motor oil and spread the red grease on the inner lip around. Pound the seal in using a round object. In the past, a suitably sized piece of PVC pipe worked well. Do the same thing for the crank seal.
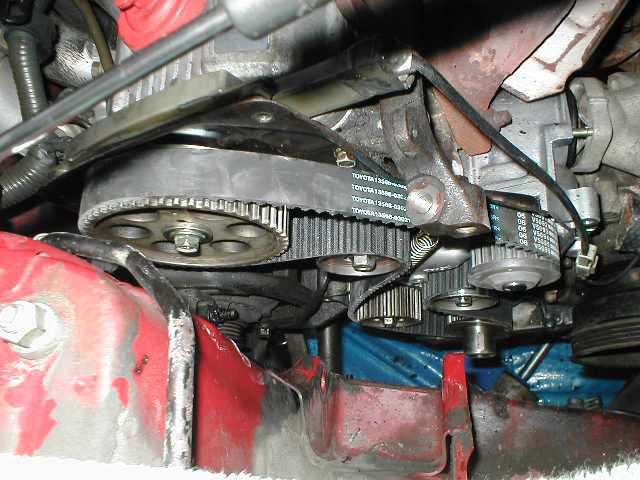
32. Clean up your pulleys and take the oppurtunity to degrease your timing covers. If you have a high mileage engine and the idler pulleys haven't been replaced, consider doing so. If your old pulleys spin freely, it's not neccesary. At the least, replace the $3 idler pulley tension spring.

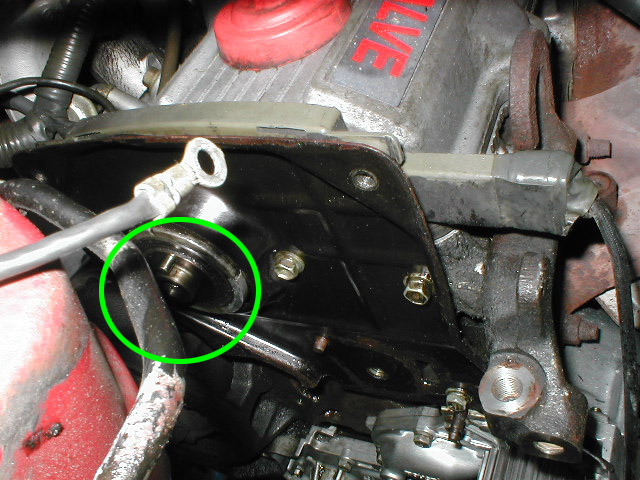
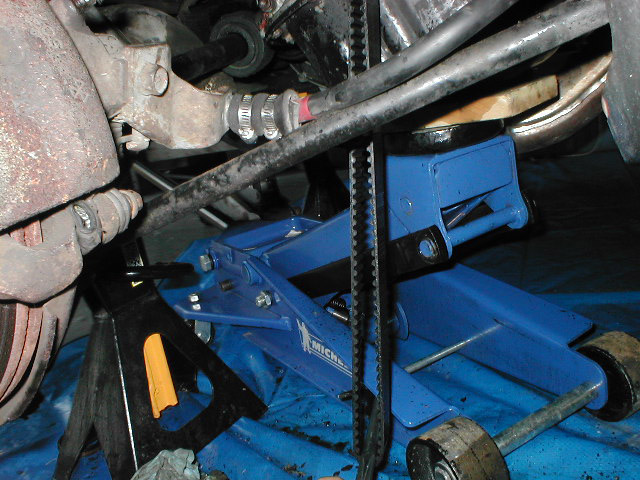
33. Next, you'll have to tighten down your oil pump pulley somehow. I didn't have the SST needed to hold the pulley still while tightening the bolt, so I got creative. I used the old timing belt, and ran the belt like in the picture. The jack happened to be in a spot where it could be used as a fulcrum for a crowbar to hold the belt tight. It worked. Torque it down to 21 ft-lb.
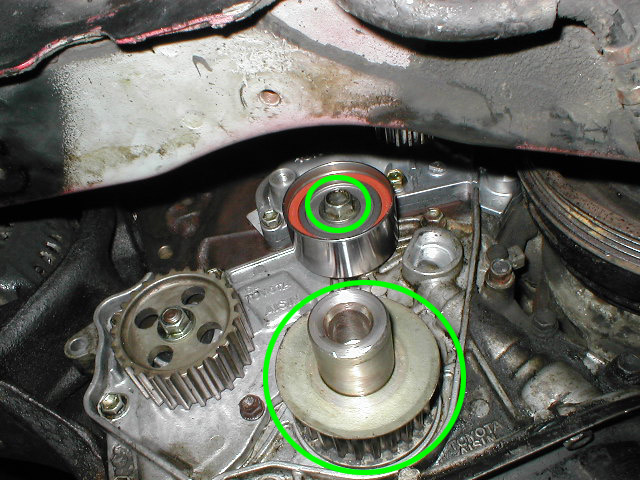
34. Clean things up if you haven't already. Install the #2 idler pulley and the crank timing pulley and timing belt guide. Torque the idler pulley to 31 ft-lb and install the belt guide so the cup is facing outwards.
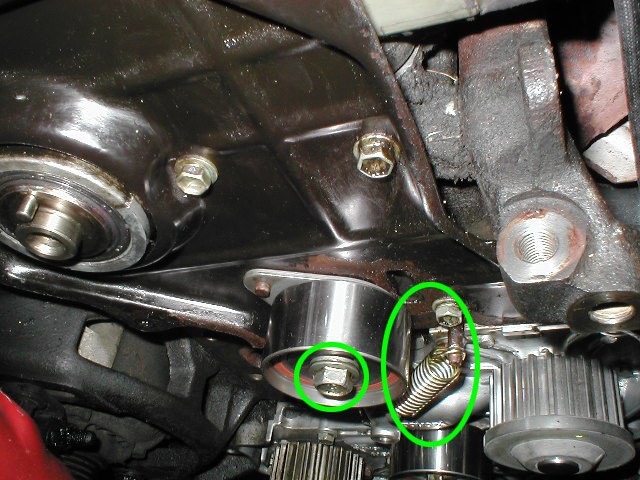
35. Jack the engine up and install the #1 idler pulley. Temporarily tighten the bolt at its lowest position, and then attach the spring.
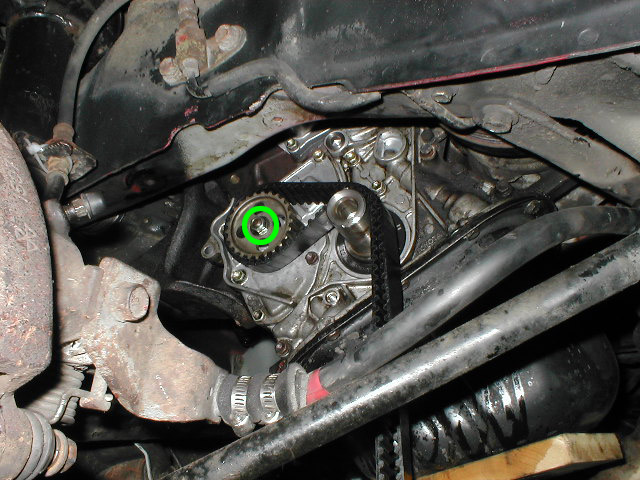
36. To install the cam pulley, use the oil pump pulley trick again. If you opened your valve cover, it should be simple to install the bolt. Torque to 27 ft-lb.

37. Run the belt properly through the lower parts. I decided to just run it through all the pulleys.
38. Install the lower timing cover and its 4 bolts.